
The Resource Object Editor is a multifunctional tool that you will use when managing your reserves. It can be used to:
- Create new reservoirs (hierarchy objects).
- Rename existing reservoirs.
- Add or remove reserve categories to reservoirs.
- Create and modify change records.
- Approve change records.
Each one of these topics will be discussed in this section.
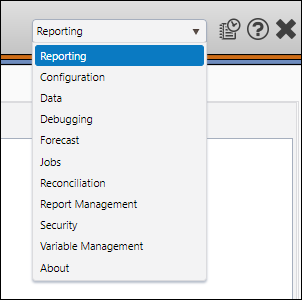
- Select Reporting from the Navigation Toolbar.
- Select Reconciliation from the Context drop-down menu in the Context/Report Selection pane. The Reconciliation tab will become available.
- Click on the Reconciliation tab, and then the Resource Editor page.
Review Product Balances
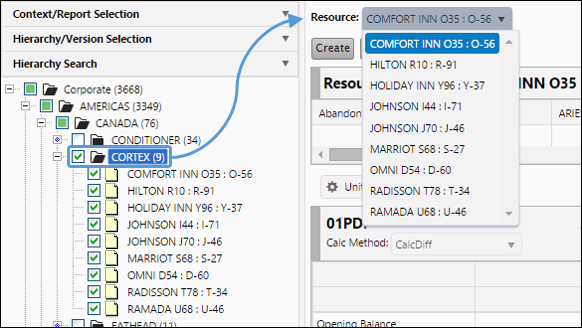
Each time you open the Resource Object Editor, you will need to specify which objects you intend to work with. This is done by selecting objects from your hierarchy.
Click image to expand or minimize.
After you select the objects you wish to work with, you can alternate between them by selecting the reservoir you wish to work with from the Resource drop-down menu near the top of the Display pane. Additionally, use the left and right arrows in the upper-right corner of the Display pane to alternate between reservoirs.
All of the attributes associated with each object you select are displayed near the top of the Display pane. Each reserve category associated with the reservoir is displayed in subsequent blocks.

Click image to expand or minimize.
Create a New Resource Object
Follow these steps to create a new Resource Object:
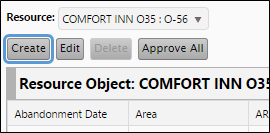
- Click the Create button. The Create Resource Object window will open.
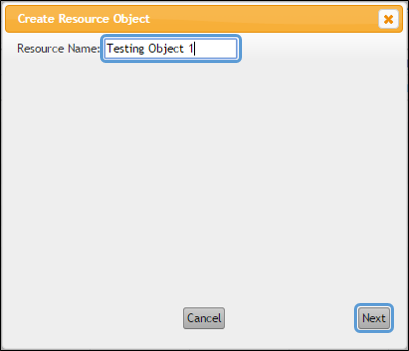
- Enter a name for your resource object in the Resource Name field, then click the Next button.
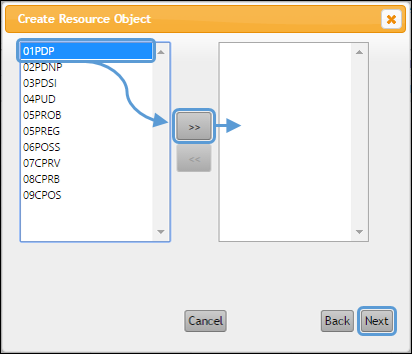
- Now, select the Reserve Categories associated with your new resource object. Select Categories from the column on the left, and press the >> (Add) button to add them to the list on the right.
- Once you have added the Reserve Categories you require, click the Next button.
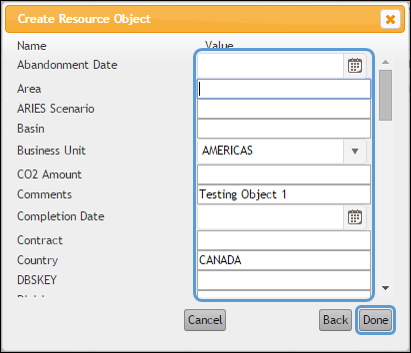
- Now, assign attributes to your resource object that will help categorize it in your hierarchy. Enter information about your new resource object into the fields on the right-hand side of the window. Once you have finished entering your object attributes, click Done. Your new object will be saved.
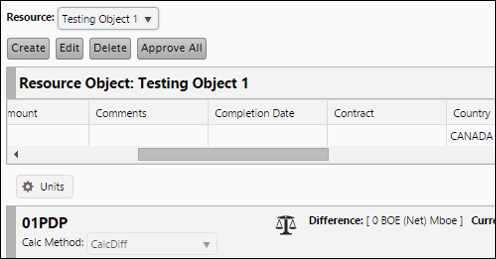
- Your new object will be created and ready for editing.
Click image to expand or minimize.
Click image to expand or minimize.
Click image to expand or minimize.
Click image to expand or minimize.
Configure Production Data
Once you have created your resource object, you will need to configure its production data.
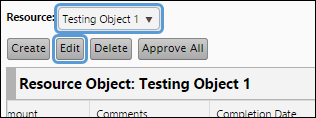
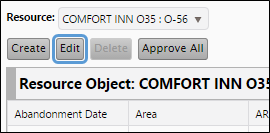
- Select your new reservoir from the Resource drop-down menu and click the Edit button.
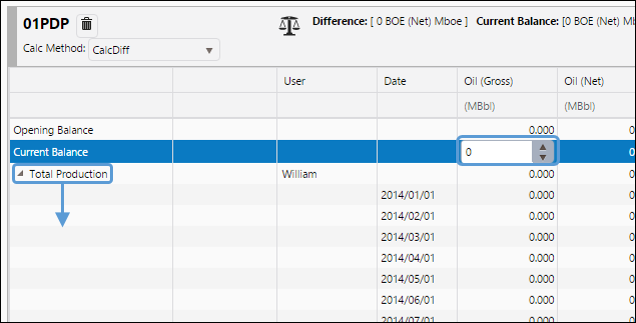
- Use the table to enter your current balance volumes and total production volumes. Click on a cell to modify its value.
- Clicking on Total Production will display each production period associated with the object.
- Click the Save button to save your changes.
Click image to expand or minimize.
Add Reserve Categories to a Resource Object
You may want to add or remove reserve categories as a resource changes. To do so, follow these steps:
- Use the Resource drop-down menu to select the reservoir you wish to modify, and click the Edit button.
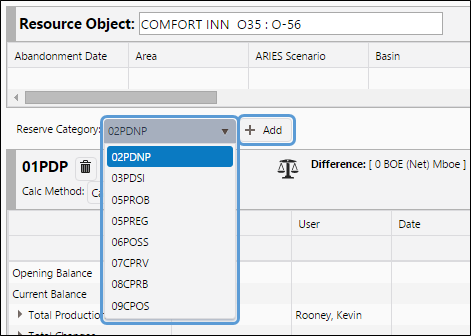
- Select the type of reserve category you would like to add to your resource object using the Reserve Category drop-down menu, and click the + Add button.
- The Reserve Category will now be added to the list, but may not be visible. Scroll down to see it.
- Once you have configured the production data for your new reservoir, click the Save button to save your changes.
Click image to expand or minimize.
Remove Reserve Categories from a Reservoir
You can remove reserve categories from your resource objects while in the Edit mode. To do so, follow these steps:
- Select the resource object you wish to modify using the Resource Object drop-down menu.
- Click the Edit button.
- Beside each reserve category's title, there is a Delete button (
 ). Click the Delete button beside the Reserve Category you wish to remove.
 - The Reserve Category will disappear from the list.
- If you accidentally delete the wrong reserve category from the list, click Cancel. You can also re-add the reserve category to your object without losing any data.
- Click the Save button to finish removing the Reserve Category.
Rename a Resource Object
The Resource Object Editor can also be used to rename your reservoirs.
- Select the resource object you wish to rename using the Resource Object drop-down menu.
- Click the Edit button.
- Enter a new name for your resource object in the Resource Object field near the top of the Display pane.
- Click the Save button.
- Your reservoir will now appear in your hierarchy with its new name.
Apply a Unit Conversion to your Data
You can quickly convert the units, currency, and magnitudes of your data using the Units tool:
- After opening the Resource Object Editor, click on the Units button (
 ) below the Resource object’s attribute information.
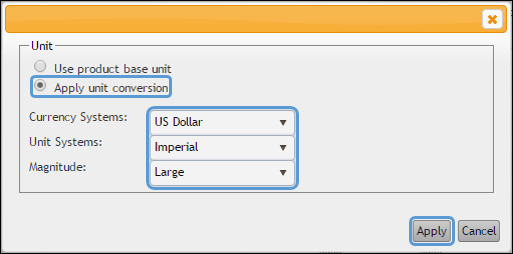
 - A window will open where you can configure your unit conversion.
- Toggle the Apply unit conversion option.
- Use the Currency Systems, Unit Systems, and Magnitude drop-down menus to select the units you wish to display.
- When you have properly configured the options, click Apply.
- To revert back to the default units, click the Units button (while not in the edit mode) and toggle the Use product base unit option before clicking Apply.
Click image to expand or minimize.
Change Record Management
You can also manage your change records using the Resource Object Editor. See Change Record Management for more information.